This guide only applies to our shopBuilder product.
shopBuilder is Blacknight’s eCommerce platform which works with any kind of website. You can manage the back end of your shopBuilder store by logging into https://my.shopsettings.com/ using your email address and password.
The front end of your online store can be installed on a website of your choice. For WordPress sites, a WordPress Plugin is provided.
Downloading the WordPress Plugin for shopBuilder
Download the shopBuilder plugin zip file (blacknight_wp_plugin) and save it on your local computer to install in the next step.
Installing the shopBuilder Plugin on your website
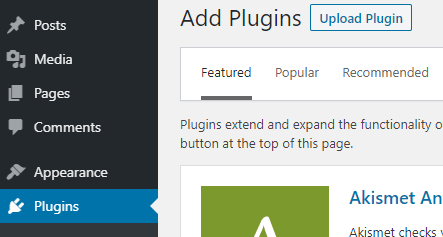
- Login to your WordPress dashboard and navigate to Plugins
- Click Add New
- Then click Upload Plugin
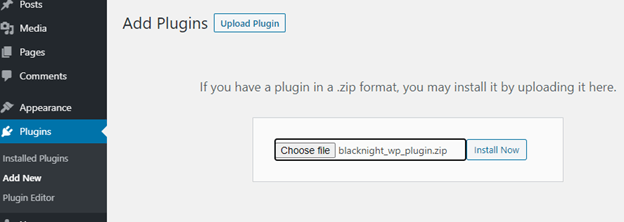
- Browse your local computer and locate the plugin you downloaded. Select it and click Open, and then click Install Now on the WordPress dashboard.
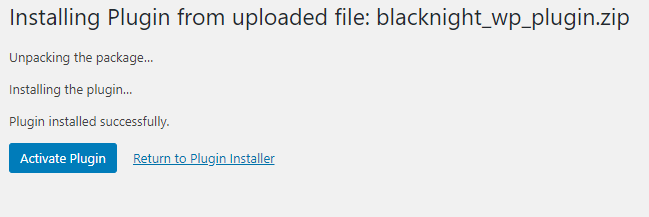
- Next click Activate Plugin
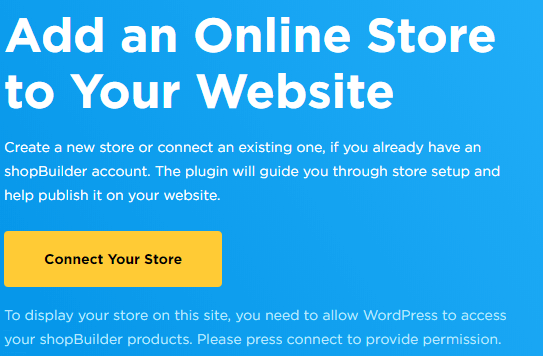
- The shopBuilder plugin will activate and invite you to connect to your shopBuilder store. Click Connect Your Store.
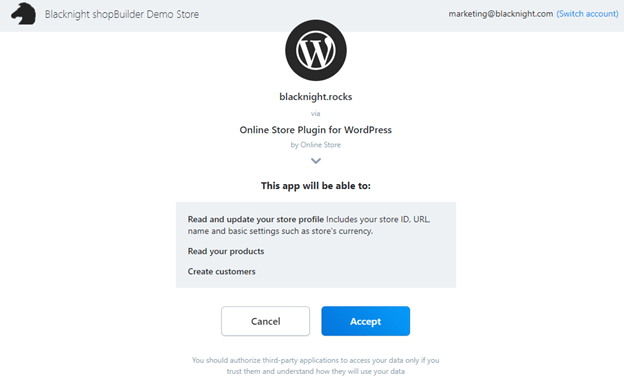
- By default the plugin will attempt to connect to your shopBuilder store using the same email address with which you are logged in to WordPress. You can see this email address in the top right-hand corner. (In the example below, it is marketing@blacknight.com.) If this is the same email you used to sign up for shopBuilder, then click Accept to proceed. Otherwise, click Switch account and enter the correct email address for your shopBuilder account. Then click Accept.
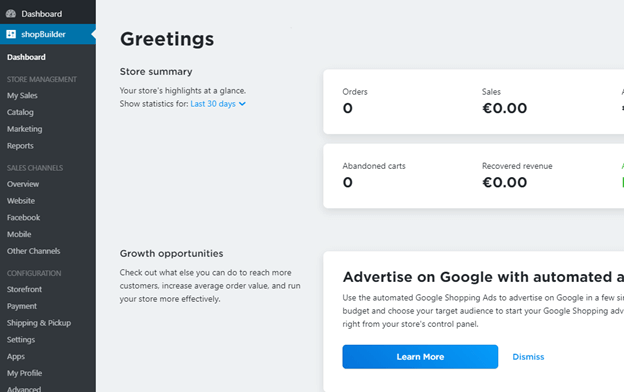
- Your shopBuilder menu is now available on the WordPress dashboard. You can manage your shopBuilder store from within this menu on the WordPress dashboard, or you can login to https://my.shopsettings.com using your shopBuilder account details. You can add products, delivery options, payment options etc on either site, and the changes will appear on the other.
Comments
0 comments
Article is closed for comments.